Within the Explorer widget, users with the following permissions can upload files:
•to the All Items root folder – users with Creator and/or Owner on Files
•to other folders – users with Owner on Groups and Folders
The default metadata associated with files in the Explorer widget are described in the following sections. If custom file metadata parameters are defined in the RT_FILE_PARAM_TYPE table, additional file metadata parameters may be available.
File Sources
Within the Explorer widget, there are several methods of linking to files to download. These can be specified in the Upload File pop-up that appears when clicking New File.
1.Local File – The user uploads the file into the widget (as described in the following section). The file is stored as a Binary Large Object (BLOB) in the DT_FILE table.
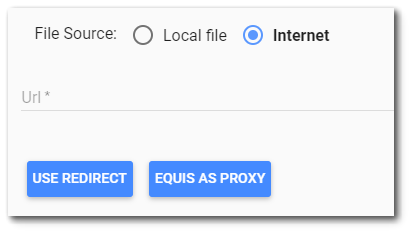
2.Internet – Enter the URL where the file is located. The options are Redirect or using EQuIS as a Proxy.
a.Redirect – The database stores a shortcut file for that URL in DT_FILE. When a user selects the file name from the Explorer grid, the URL of the file launches directly in a new browser tab, displaying or downloading the file per the browser settings for that filetype.
b.EQuIS as Proxy – Selecting the file name from the Explorer grid temporarily opens a new browser with a destination that includes the Enterprise site's URL. The file from the URL will be loaded to the temp folder of the Enterprise server, and the user receives the download from the Enterprise server. The tab then closes.
Note: The Explorer widget's multi-download functionality is not supported for Internet Redirect files. The multi-download of EQuIS as Proxy files may be delayed, as the file first downloads onto the Enterprise server. |
Uploading Files
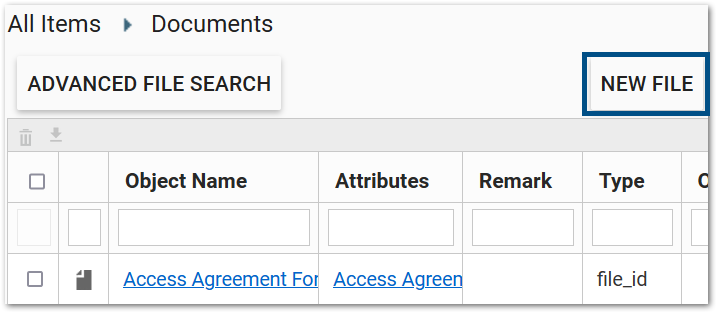
To upload a new file, click the New File button to open an Upload File window. This button is only available to users with Creator permission on the File type object. The file will be associated with the session facility.

While the New File button on the Explorer widget allows for a single file to be uploaded to the EQuIS database, users may want to load many files. For information on uploading multiple files at a time, see File Management in EQuIS Professional.

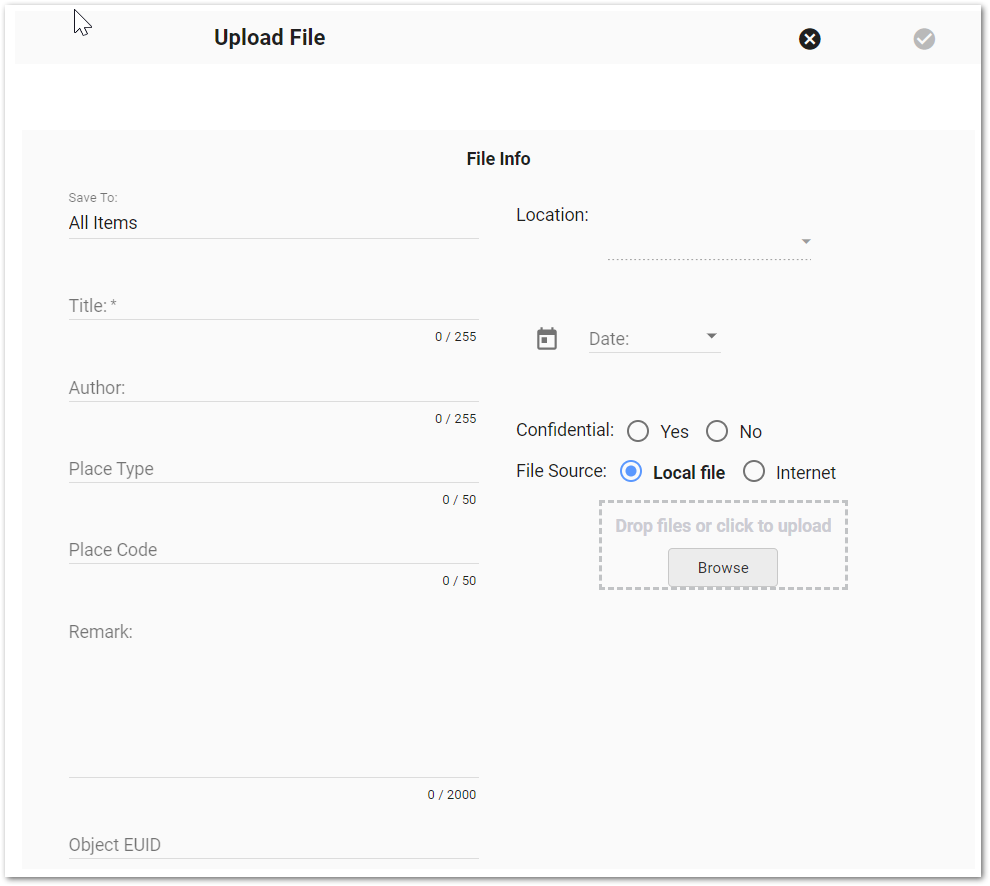
The Upload File window includes the following default file metadata options. Additional file metadata parameters may be displayed in the Upload File window if custom file metadata parameters have been defined in the RT_FILE_PARAM_TYPE table. The file object can link to an external file source instead of being stored in EQuIS. DT_FILE.CONTENT holds either the actual file in binary form, or a link file (.uri) that includes the external location and, optionally, any file content search text.
File Metadata
Save To – Allows user to select a folder to save the file. Defaults to the All Items root folder if no folder is selected. The user needs at least editor permission on the folder selected to save the file.
Title – Title for the file stored in DT_FILE.TITLE. This is a required field.
Author – Name of file author stored in DT_FILE.AUTHOR. This field is optional.
Place Type – Indicates the file's expected use and what it is associated with (e.g., EDD_FORMAT; SYS_LOC_CODE; LOCATION_TYPE_CODE; or COC, report, or template properties).
Place Code – User-defined code for that place type (e.g., a location, location type, label, or category). Not all place types require place codes.
Remark – A description of the file stored in DT_FILE.REMARK. This field is optional.
Object EUID – Users can set and edit the DT_FILE.OBJECT_EUID value to facilitate document management.
Location – Select a location from the drop-down list to associate the file with that location, which results in DT_FILE.PLACE_TYPE = SYS_LOC_CODE and DT_FILE.PLACE_CODE = {SYS_LOC_CODE value of the location} (e.g., B-30). The locations displayed in the drop-down menu will be for the selected Facility session. This field is optional. If left blank, no values are assigned related to location in the DT_FILE table.
Note: The Location drop-down menu will only be enabled if PLACE_TYPE = SYS_LOC_CODE |
Date – The DT_FILE.FILE_DATE field will automatically populate with the date the file is upload if a date is not selected. Use the calendar tool to select a past date to assign to the file to denote when the file was created rather than uploaded. The required date format is YYYY-MM-DD (ISO 8601 standard).
Confidential (Y/N) – Use the radio buttons to mark the file as confidential. This value is optional and stored in DT_FILE.FILE_CONFIDENTIAL_YN.
File Source – This window includes radio buttons for a Local file or Internet file source (i.e., URL). The file name or URL is stored in DT_FILE.FILE_NAME. For further detail, see the File Sources section.
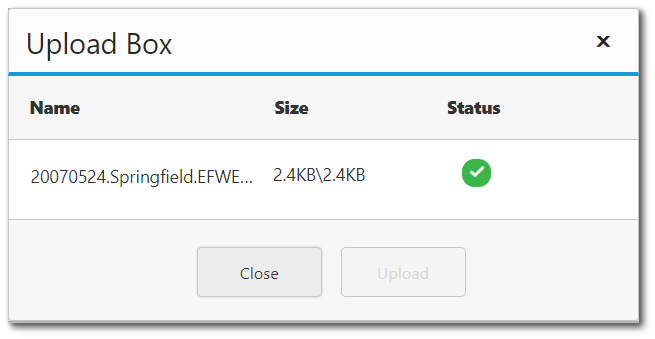
•Local File – Select the file to upload by browsing to the file or by dragging and dropping it. An Upload Box will appear. This box displays the name, size and status of the file being uploaded. Click the Upload button. If the file is successfully uploaded, the Upload Box will display a white check mark within a green circle under the Status column. Select the Close button to exit this box.

•Internet – Enter the URL where the file is located. The options are Redirect or using EQuIS as a Proxy, described in the File Sources section.
