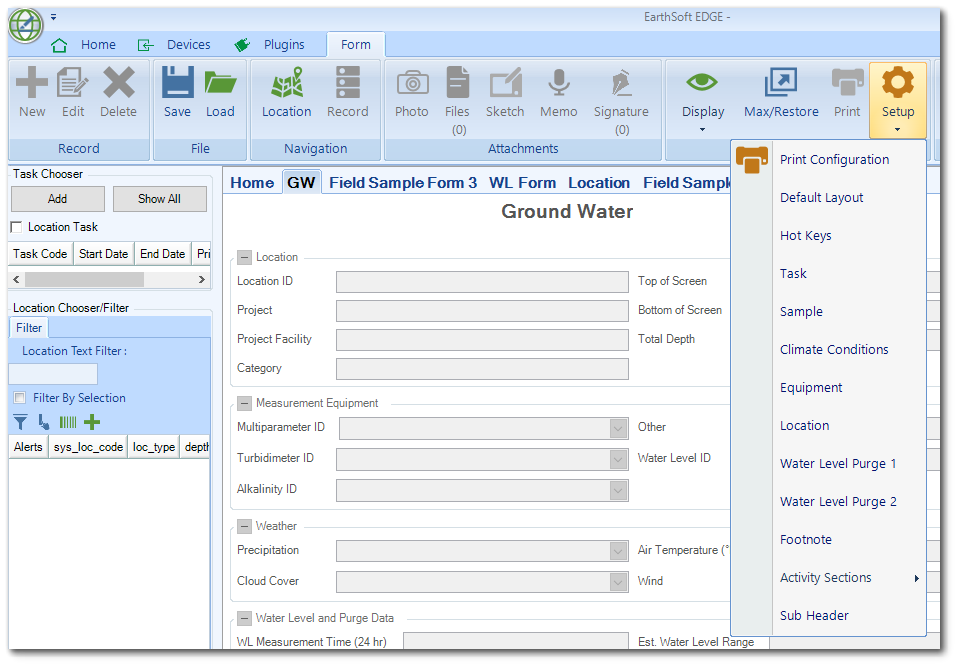
Within any form in EDGE, access the Print Configuration feature on the Form ribbon by clicking Setup and selecting the Print Configuration option at the top of the drop-down menu.
A Print options dialog will open.
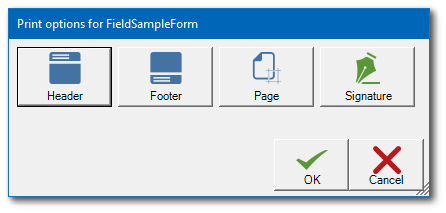
The user can add a customized header or footer, set page margins, and/or add a signature image background to a form by selecting the desired option(s).
Header/Footer Dialog
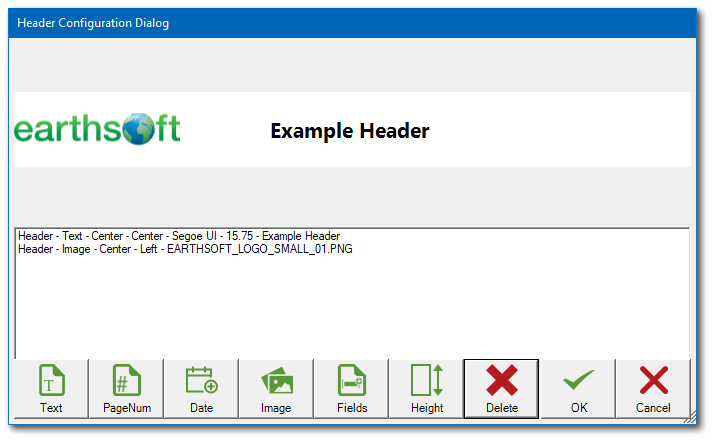

This dialog allows the user to fully customize the header/footer of a printed form. A variety of features are available and can be set by clicking on the button for the desired feature (e.g., adding text to a header or footer). A preview of the header/footer is provided in the top pane of the dialog window and details of the customization are listed in the lower pane. Once a customization has been added, it cannot be edited. To modify a customization, select it and click Delete, then enter the new customization.
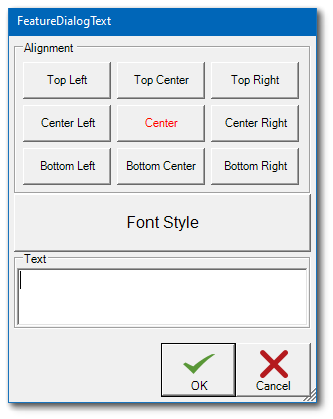
Text
Enter desired text, select a font and font style, and choose the alignment for the text.
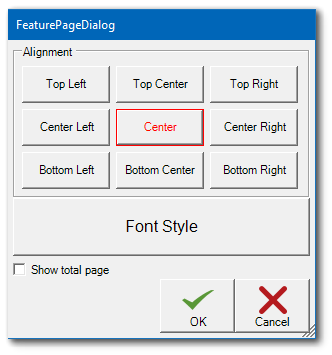
Page Number
The feature will add page numbers to the header or footer. Click the Show total page check box to display the total number of pages with the page number (e.g., Page 1 of 10). Select a font and font style, and choose the alignment for the page number text.
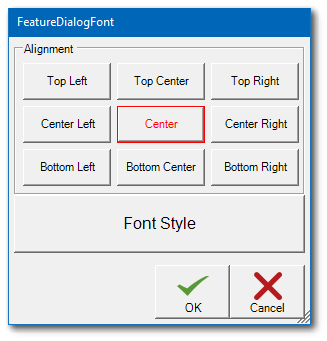
Date
Date will display the current date and time. Select a font and font style, and choose the alignment for the date text.
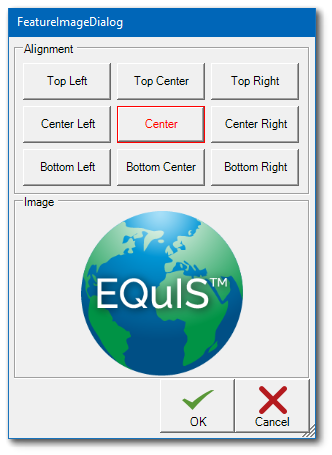
Image
Click the Image button to browse the Open window and select the desired image file (BMP, GIF, JPG, PNG). Once selected, the image will be displayed in the preview pane. Choose the alignment for the image.
Fields
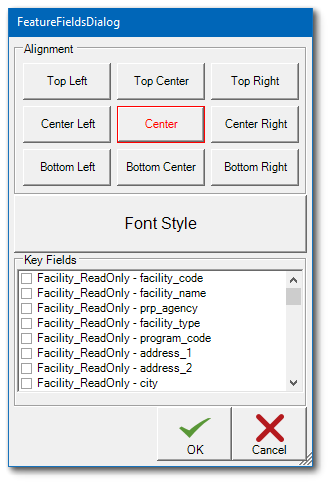
Click the Fields button to add key fields on the form to the header or footer. Click the check box to display the desired field(s). Select a font and font style, and choose the alignment for the fields text.
Height
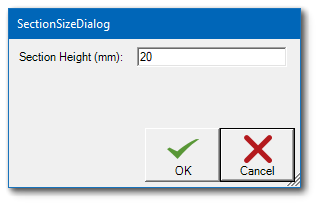
Enter the height for the header or the footer on the page. The default section height is 20 mm.
Page Dialog
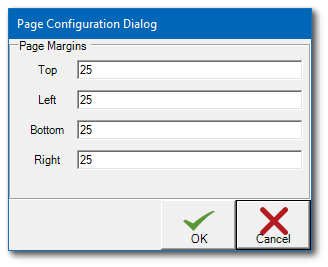
Enter desired page margins when printing the form.
Signature Dialog
The Signature dialogue lets the user choose a background image for signatures recorded on a form. The user can set the image in this dialogue for one form and then all forms will use the same image for their signature.
Click in the Signature Background Image area to browse to an image to be used as a watermark behind form signatures. This setting applies to all forms, not just the currently selected form. To change the current image, click again in the Signature Background Image area.
